
Mountain Biking
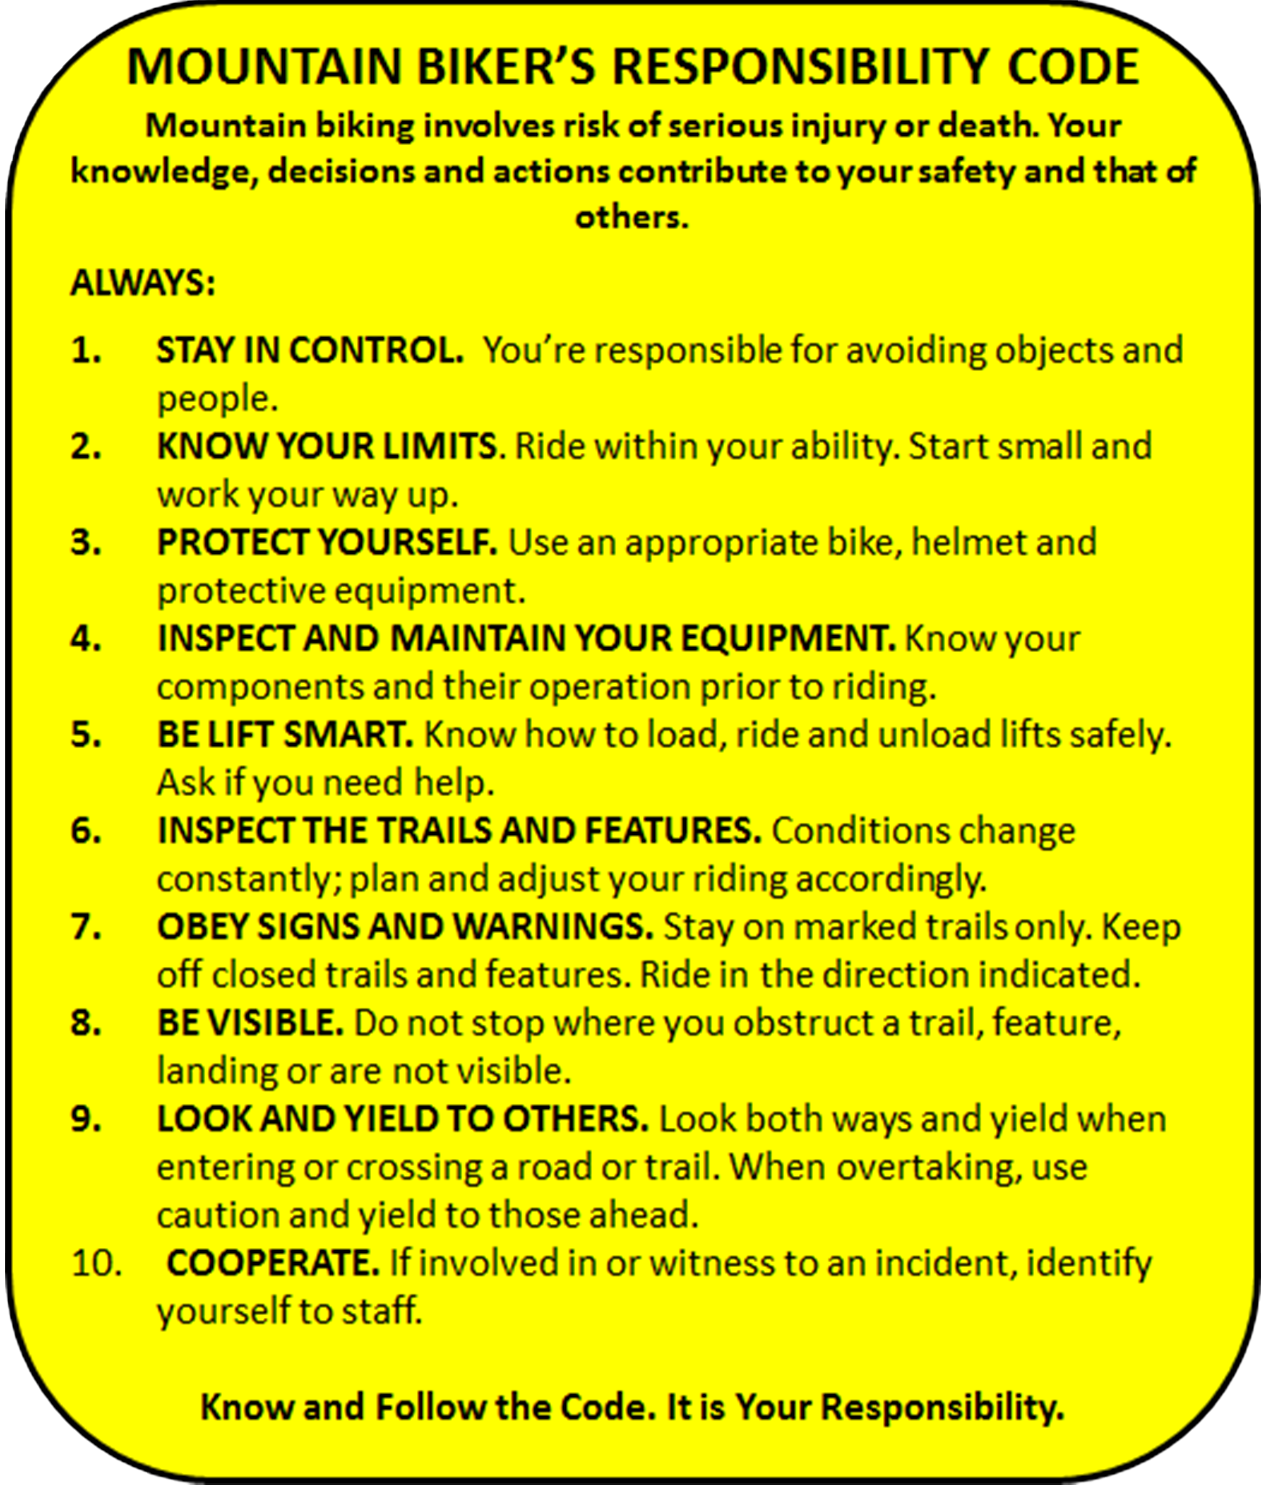
Mountain Biker's Responsibility Code
The Mountain Biker's Responsibility Code has been developed to help inform riders about the information, decision-making and actions every rider should know and take prior to and while riding on the variety of trails within a ski area’s trail network.
Similar to the 10 points of Your Responsibility Code, this code reminds riders that there are elements of risk in mountain biking that common sense and personal awareness can help reduce. Check with area employees to see if there are other local considerations for which you should be aware, such as wildlife.
MOUNTAIN BIKER'S RESPONSIBILITY CODE VIDEO

Mountain Bike Safety Checklist
Prepare for a safe and enjoyable ride with the right gear and knowledge, including learning about lift safety for mountain bikers.
Here’s a concise checklist for mountain bike safety:
The Essential Safety Gear
-
Helmet: Meets mountain bike helmet safety ratings.
-
Gloves: Durable and well-fitting.
-
Glasses: Shields eyes from debris and UV rays.
-
Protective Pads: Elbow and knee pads.
-
Sturdy Footwear: Good grip and support.
Additional Safety Equipment to Consider
-
Full-Face Helmet: Extra protection for downhill biking.
-
Body Armor: Chest and back protectors.
-
Hydration Pack: Easy access to water.
-
First Aid Kit: For minor injuries.
-
Multi-Tool: Quick repairs on the go.
-
Cell Phone: For emergencies.
Types of Trails
You may encounter or seek out different types of riding experiences. Trails are generally categorized as Technical or Freeride, although you may encounter blends of these on any given trail. No matter the trail, stay alert and stay aware as the riding conditions can change at any moment.
Technical Trails
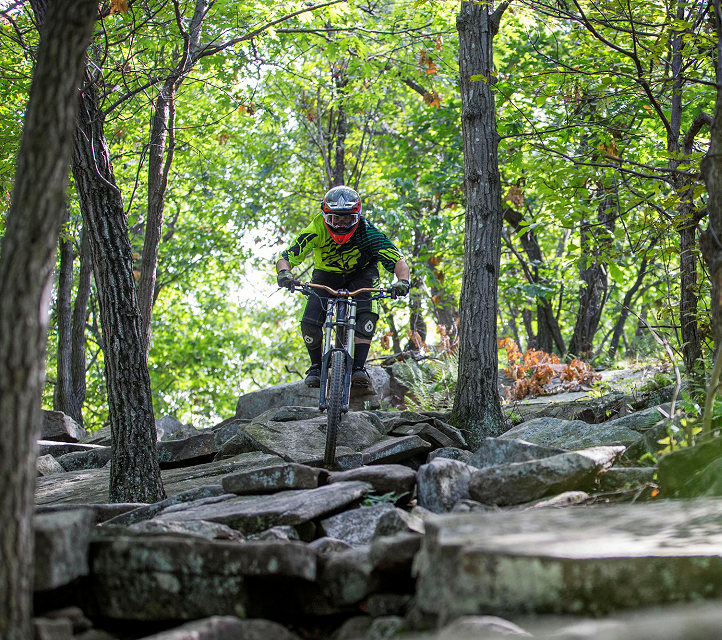
Technical trails are often relatively narrow and contain features and characteristics that are both added and found naturally occurring on the slopes, trails and terrain. Technical trails may contain roots, gravel, rocks, logs, water crossings, jumps, drops and may also include some human-made obstacles and bridges.
Trails in this category may be shared with other types of trail users, such as hikers and equestrians.


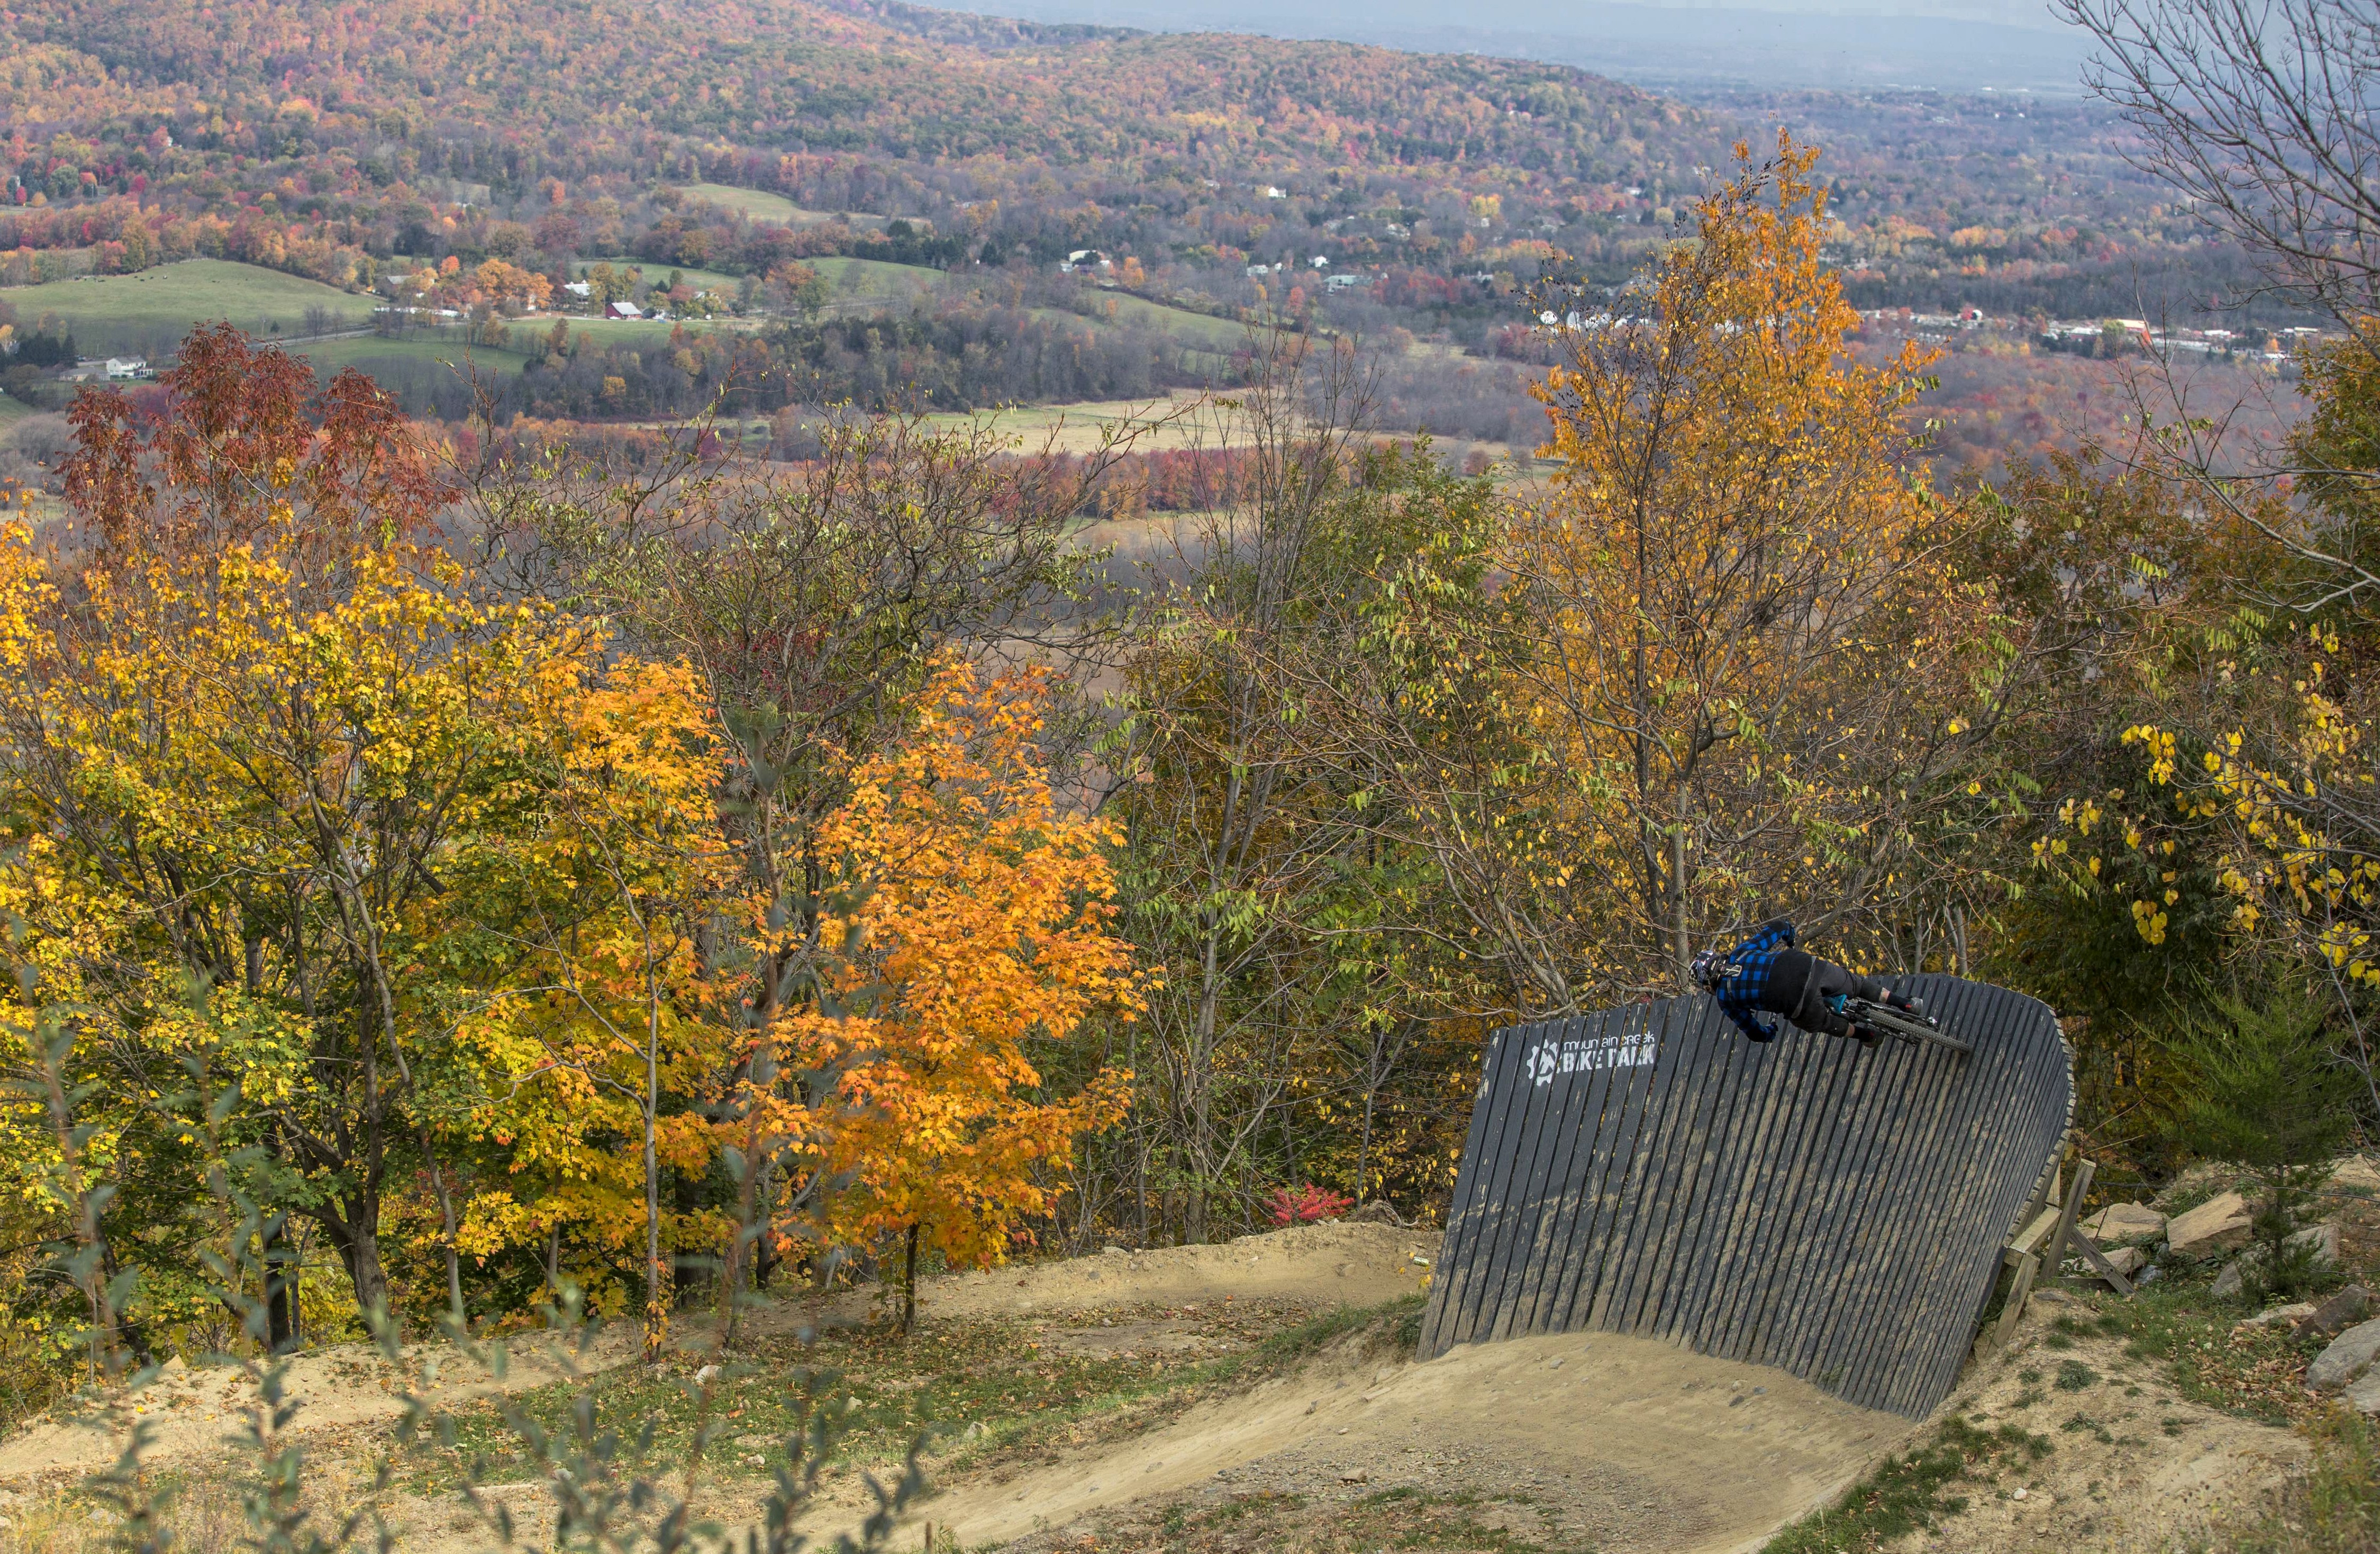
Freeride Trails
Freeride trails are often wider than technical trails, containing constructed enhanced/modified terrain, obstacles and features, such as jumps, berms, banks, bridges, drops, etc. created from dirt, wood or other materials.
Freeride trails are distinguished from technical trails by the use of the orange oval with their difficulty symbol inside.


Signage for Mountain Bike Trails
The green circle, blue square and black diamond indicate different degrees of difficulty, relative to the trails in that area. See below for additional elements in the signage that indicate different types of trails.
Green Circle: Easier
Blue Square: More Difficult
Black Diamond: Most Difficult
Double-Black Diamond: Extremely Difficult, Use Extra Caution
It’s important to remember that trail ratings are relative to that area, meaning the easiest slope at one area may be considered a more difficult slope at another. If you are unsure about which trail is right for you, take the green trails until you are familiar with the mountain and the trail network.
The wrong choice could send you down a trail that you aren't ready for. Be sure to check out the trail and features before you ride them, start small and work your way up.
Other Trails Signs
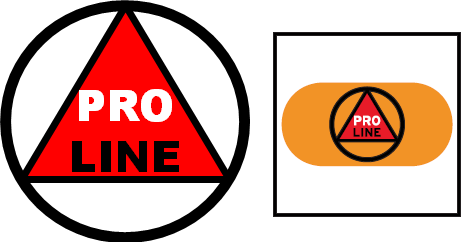
Beyond expert or professional-level trails are those requiring professional competition-level skills. Before using these trails, riders may be required to sign specific releases or attend training. Consult the ski area before attempting to use these trails for the first time.

Skill development areas or skills parks are specifically designed to provide riders the opportunity to learn and develop new skills away from the trail environment. The features and obstacles in a skills park may or may not directly reflect the size or type of those you may encounter on all of the trails in the bike park.
Remember, it is your responsibility to inspect trails and features before attempting.